
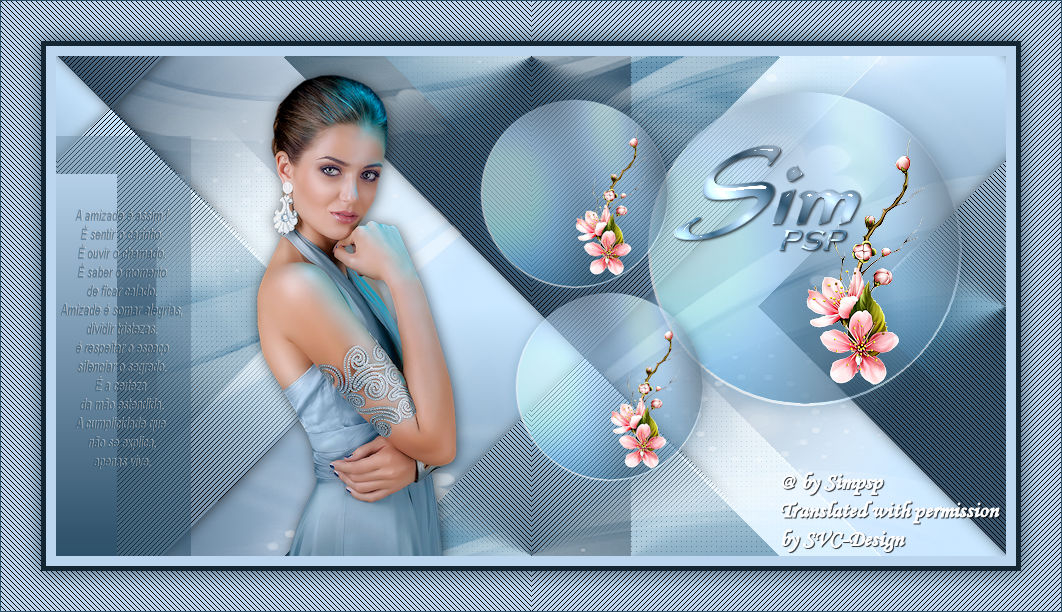
This lesson is made with PSPX9
But is good with other versions.
© by SvC-Design

Materialen Download :
Here
******************************************************************
Materials:
Deco_Mask5.jpg
Sel1_Niver3_byCidaBen.PspSelection
Sel2_Niver3_byCidaBen.PspSelection
Sel3_Niver3_byCidaBen.PspSelection
Sel4_Niver3_byCidaBen.PspSelection
texto_amizadeSIM_ByCidaBen.pspimage
WordArt_Simpsp_byCidaBen.pspimage
012FlorByPqnaAlice.png
iE4PGY4X3Ea7zSG6eorhnO1xIjQ (1).png
******************************************************************
Plugin:
Plugins - Filters Unlimited 2 - Tile & Mirror -
*XY Offset 50% [positive]
Plugins - Simple - Diamonds
Plugins - kiwi ?v" Kiwi's Oelfilter - 3.5 Promille
Plugins - AP [Lines] / Lines – SilverLining - Dotty Grid
Plugins - AP [Lines] / Lines – SilverLining - V-shaped
Plugins - It@lian Editors Effect - Effetto fantasma
******************************************************************
color palette
:

******************************************************************
methode
When using other tubes and colors, the mixing mode and / or layer coverage may differ
******************************************************************
General Preparations:
First install your filters for your PSP!
Masks: Save to your mask folder in PSP, unless noted otherwise
Texture & Pattern: Save to your Texture Folder in PSP
Selections: Save to your folder Selections in PSP
Open your tubes in PSP
******************************************************************
We will start - Have fun!
Remember to save your work on a regular basis
******************************************************************
1.
Choose colors to work with.
Foreground: #bcd6ef
Background: #2c4f68
3rd Color: #142632
4th Color: #FFFFFF
2.
Open a new transparent image of 950x500 px
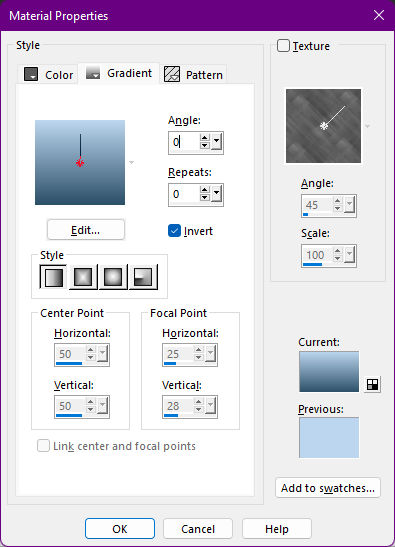
Paint transparency with a Linear gradient: Angle 0, Repeats 0 > Invert > Marked
with the color #bcd6ed foreground and the color: #2c4f68 the Background.
3.
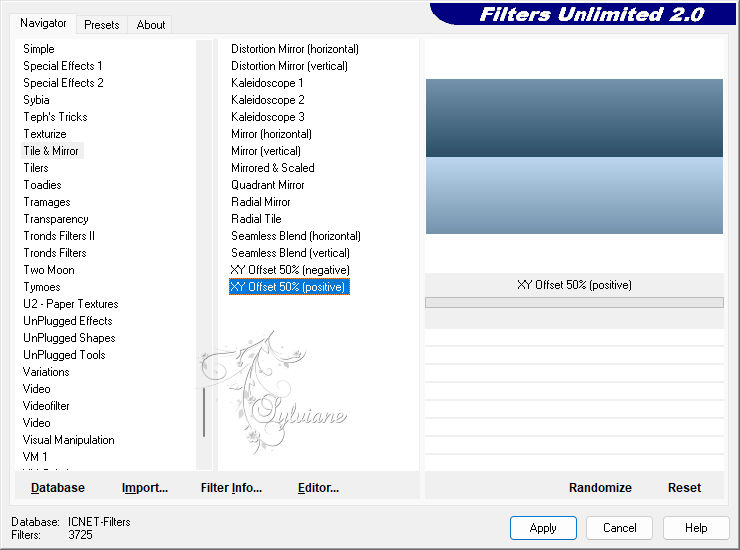
Plugins - Filters Unlimited 2 - Tile & Mirror -
*XY Offset 50% [positive]
4.
Plugins - Simple - Diamonds.
5.
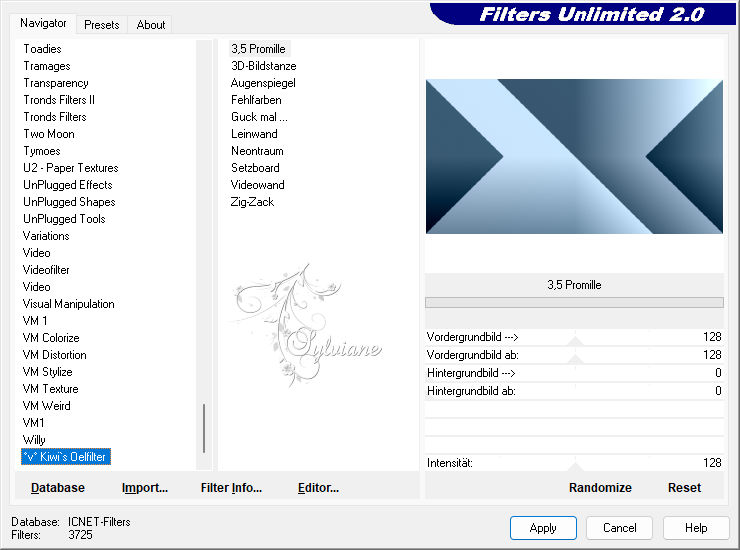
Plugins - kiwi ?v" Kiwi's Oelfilter - 3.5 Promille
6.
Effects - Image Effects - Seamless Tiling: Default
7
Selections - Load/Save Selection - Load Selection From Disk - Sel1_Niver3_byCidaBen.
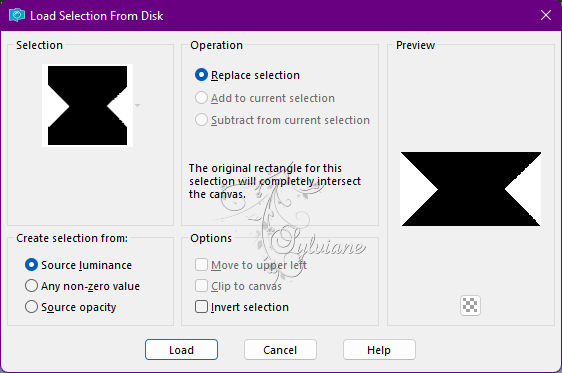
Selections - Promote selection to layer.
Selections - Select None.
8.
Effects - Image Effects - Offset
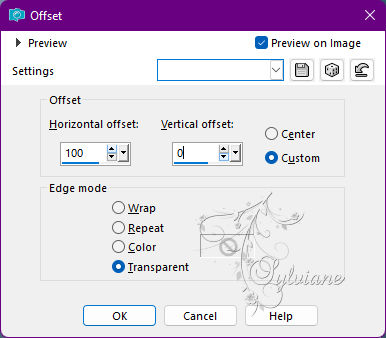
Blend Mode: Screen
Feel free to change blend mode, depending on your color in use.
9.
Plugins - AP [Lines] / Lines – SilverLining - Dotty Grid
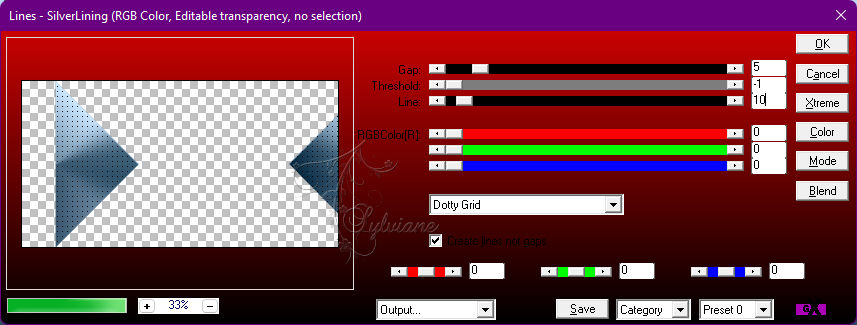
10.
Effects - Image Effects - Seamless Tiling: Default
Layers - Merge - Merge Down.
11.
Selections - Load/Save Selection - Load Selection From Disk - Sel2_Niver3_byCidaBen.
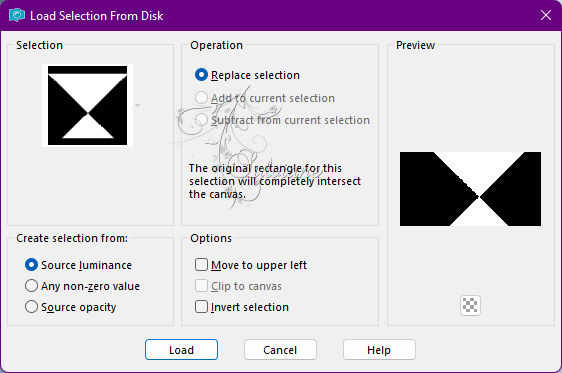
Selections - Promote selection to layer.
Selections - Select None.
12.
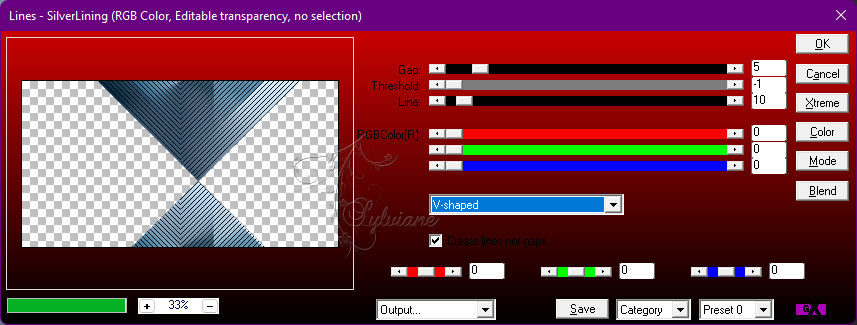
Plugins - AP [Lines] / Lines – SilverLining - V-shaped
13.
Effects - 3D Effects - Drop Shadow
1/ 1/60/ 20 Color: #000000 (black)
14.
Layers - New Raster Layer.
Paint with the 4th color #FFFFFF - (White).
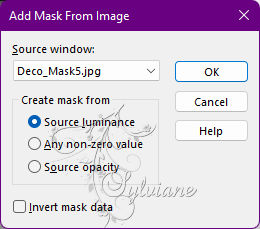
Layers - New Mask Layer layer > From Image - Deco_Mask5.
Layers - Merge - Merge Group.
Image - Mirror - Mirror Horizontal.
15.
Blend Mode: Hard Light - Opacity: 60.
Adjust - Sharpness - Sharpen.
Layers - Arrange - Move Down.
16.
Activate layer > Promoted Selection (Top).
Effects - Image Effects - Seamless Tiling: Default
17.
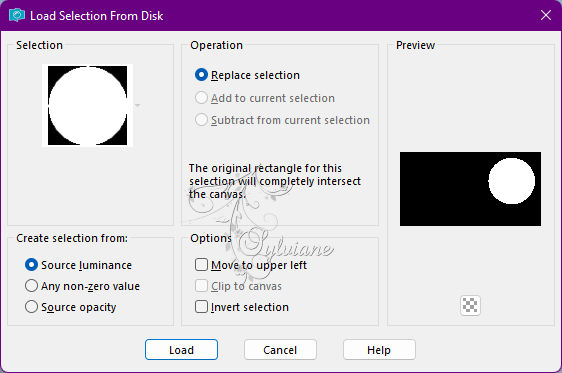
Selections - Load/Save Selection - Load Selection From Disk - Sel3_Niver3_byCidaBen.
Layers - New Raster Layer.
Paint with a with linear gradient in use

18.
Selections - Modify - Select Selection Borders:
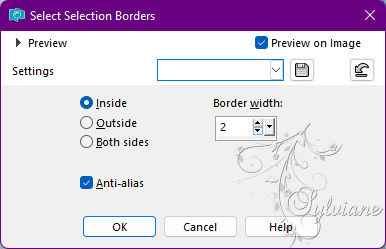
Paint this border with the color of the Foreground.
Selections - Select None.
19.
Effects - 3D Effects - Drop Shadow:
1/ 1/ 60/ 30 - Color: Background color.
20.
Blend mode: Normal - Opacity: 60 %
21.
Plugins - Graphiscs Plus - Cross Shadow: Default.
22.
Open 012FlorByPqnaAlice.png
Edit - Copy
Edit - Paste As New Layer.
Imege - Resize > 45% > Resize all layers unchecked.
Activate selection tool (Press K on your keyboard)
And enter the following parameters:
Pos X : 750 – Pos Y : 82
Press M.
Position within the circle as in the example.
NOTE: *If using a Flower tube of your choice, resize as needed
and position so that it is inside the circle.
Adjust - Sharpness - Sharpen.
Layers - Merge - Merge Down.
23.
Layers - Duplicate
Imege - Resize - 60%, Resize all layers cleared
Activate selection tool (Press K on your keyboard)
And enter the following parameters:
Pos X :412 – Pos Y : 31
Press M.
24.
Layers – Duplicate
Activate selection tool (Press K on your keyboard)
And enter the following parameters:
Pos X : 447 – Pos Y : 224
Press M.
Layers - Merge - Merge Down (2x)
25.
Open WordArt_Simpsp_byCidaBen.pspimage
Edit - Copy
*Color according to the color you are using.
Position inside the larger circle next to the Flower.
Effects - 3D Effects - Drop Shadow
1/ 1/ 60/ 2 - Color #000000 (black)
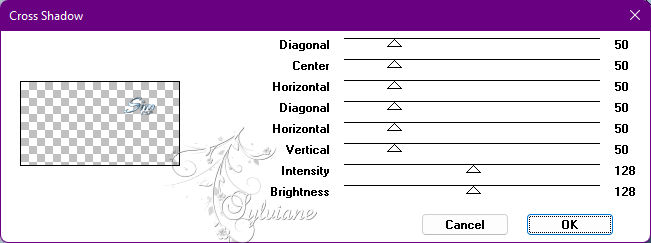
Plugins - Graphiscs Plus - Cross Shadow - Default.
26.
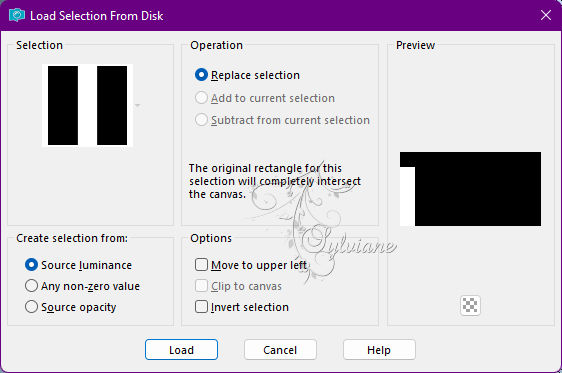
Selections - Load/Save Selection - Load Selection From Disk - Sel4_Niver3_byCidaBen.
Layers - New Raster Layer.
Paint with the Linear gradient in use.
Selections - Select None.
27.
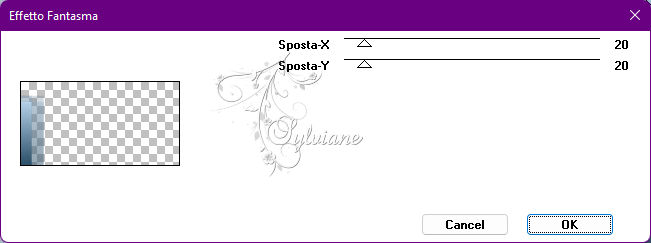
Plugins - It@lian Editors Effect - Effetto fantasma
28
Open texto_amizadeSIM_ByCidaBen.pspimage
Edit - Copy
*If desired, color with the color you are using.
Activate selection tool (Press K on your keyboard)
And enter the following parameters:
Pos X : 4 – Pos Y : 152
Press M.
Adjust - Sharpness - Sharpen.
29.
Open The Main Tube.
Edit - Copy
Edit - Paste as New Layer.
Position to the left.
Adjust - Sharpness - Sharpen
Effects - 3D Effects - Drop Shadow of your choice.
30.
Image – Add Borders –symmetric - 10px - color: Foreground
Image – Add Borders –symmetric - 5px - Color #142632
Image – Add Borders –symmetric - 40px - color: Foreground
31.
With the Magic Wand: Tolerance and Feather Tool at 0, select this border.
Selections - Invert.
Effects - 3D Effects - Drop Shadow:
0/ 0/100 / 30 - Color ##2c4f68 Background.
Selections - Invert.
32.
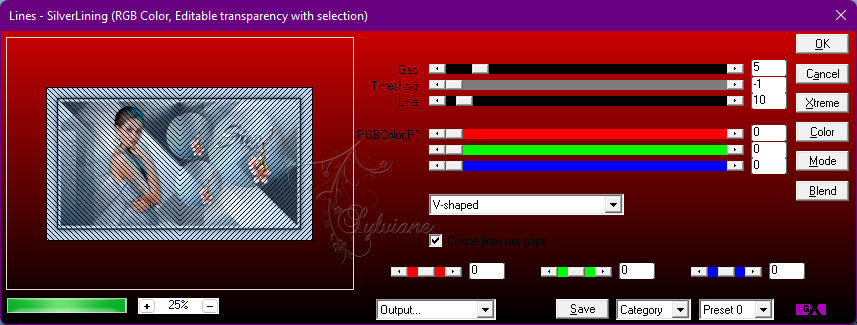
Plugins - AP [Lines] / Lines – SilverLining – V shaped
Selections - Select None.
33.
Image – Add Borders –symmetric - 1px - Color #142632
34.
Apply your watermark or signature
Layer – merge – merge all (flatten)
Save as JPEG
Back
Copyright Translation © 2022 by SvC-Design